Home Insurance for Old Houses: What Owners of Historic and Older Homes Need to Know
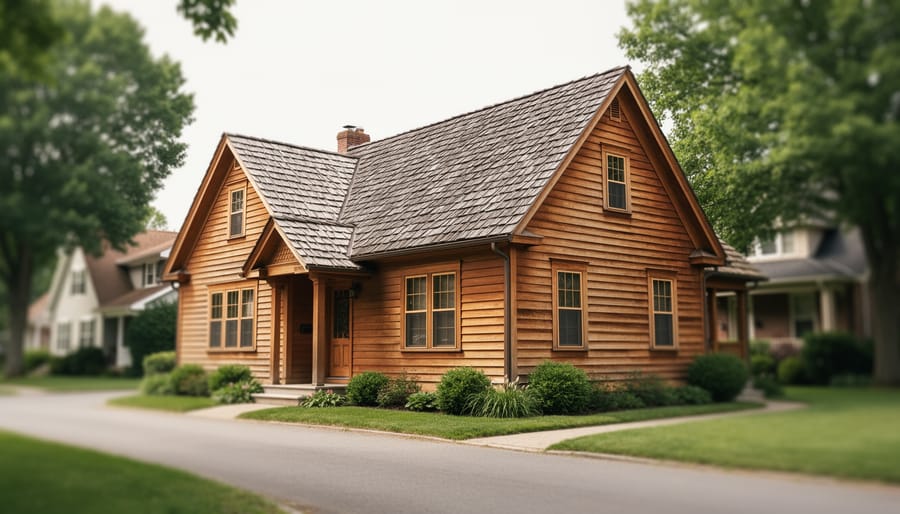
Insuring an older home is absolutely possible, but expect insurers to evaluate your property individually rather than approve it automatically. Unlike newer construction, homes built decades ago require a case-by-case underwriting review that focuses heavily on electrical systems, roofing condition, and heating infrastructure. The good news? Understanding what insurers scrutinize and making strategic upgrades before you apply can transform a potential rejection into competitive coverage.
The challenge isn’t that old homes are uninsurable. It’s that traditional policies are built around predictable risk profiles, and older properties break that mold. Knob-and-tube wiring or ungrounded electrical systems will stop most applications cold, forcing you to either replace the wiring or walk away from coverage altogether. Roofing material and age carry similar weight. Insurers examine whether you’ve got asphalt shingles, slate, or cedar, and how many years are left before replacement becomes critical. These aren’t arbitrary hoops. They’re direct predictors of claims, and insurers price accordingly.
If you’re buying an older property or already own one, the path forward is clear. Document every major system upgrade you’ve completed, from electrical panels to furnace replacements. Get a professional inspection that highlights these improvements. Then approach insurers who specialize in heritage or period homes, because they understand the nuances standard carriers often miss. The average Canadian homeowner pays around $960 annually for coverage, but your premium will reflect your home’s actual condition and the strength of your maintenance record.
Why Insuring an Older Home Is Different
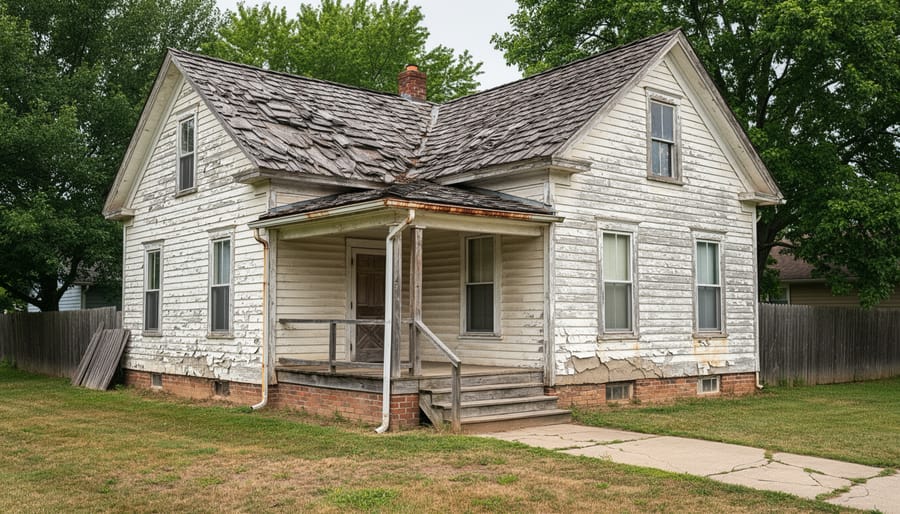
Older homes present distinct challenges for insurers because they weren’t built to modern codes and standards. The materials and construction methods common decades ago, solid wood framing, plaster walls, original electrical systems, may be durable, but they don’t necessarily align with what insurers consider low-risk today. When you add the fact that replacement costs for heritage features and period-appropriate materials often run considerably higher than standard modern construction, you’ve got a fundamentally different risk profile than a newer home.
This is why insurers approach older and heritage homes on a case-by-case basis. There’s no standard template for a house built in 1920 versus one from 1985, and two homes from the same era can have vastly different insurability depending on what’s been updated. One might have a completely rewired electrical system and a new roof, while another still runs on knob-and-tube wiring with original slate tiles. The underwriting process digs into these specifics.
The case-by-case approach means you’ll likely face more questions and potentially a home inspection before an insurer commits to coverage. They’re evaluating whether the home’s unique characteristics, its age, materials, and current condition, fit within their risk tolerance. Some insurers specialize in older properties and understand the nuances, while others may decline coverage or require substantial upgrades before they’ll write a policy. This individualized assessment is the norm, not the exception, when insuring an older home.
What Insurers Look For in Older Homes
Electrical Systems and Wiring
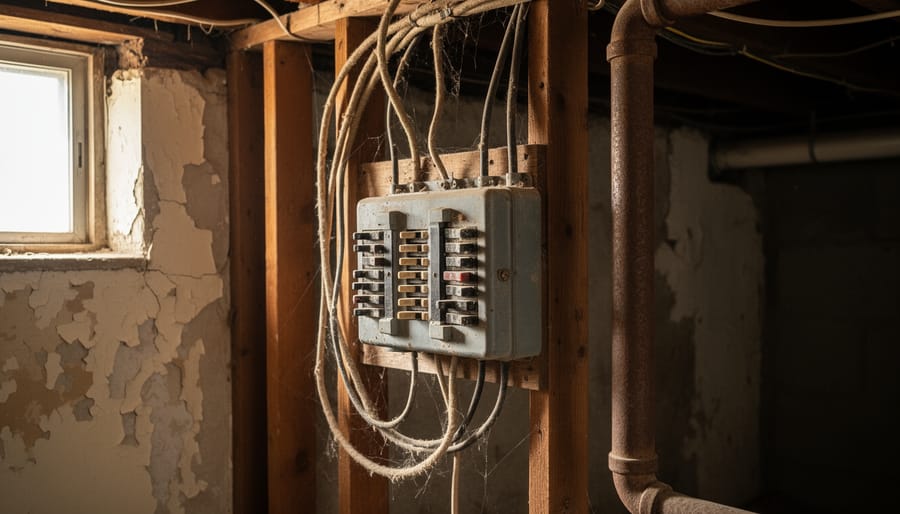
Knob-and-tube wiring and ungrounded electrical systems represent one of the most significant obstacles to insuring an older home. Most insurers in Canada will either refuse coverage outright or require complete replacement before issuing a policy. This isn’t arbitrary, outdated wiring presents genuine fire risks that modern systems don’t.
Knob-and-tube wiring, common in homes built before the 1950s, lacks a ground wire and uses insulation that deteriorates over time. When insurers discover it during underwriting, they typically give homeowners two options: replace the entire system or seek coverage elsewhere. Some specialty insurers may offer limited coverage with higher premiums, but mandatory replacement is far more common.
Ungrounded two-prong systems from the 1960s and 1970s face similar scrutiny, though insurers may be slightly more flexible if the system is otherwise sound. An electrical inspection report showing the wiring meets current safety standards can help, but expect the insurer to request detailed documentation. If you’re buying an older home, budget for electrical upgrades before assuming you’ll secure standard coverage, it’s often the first item insurers flag during the application process.
Roofing Age and Materials
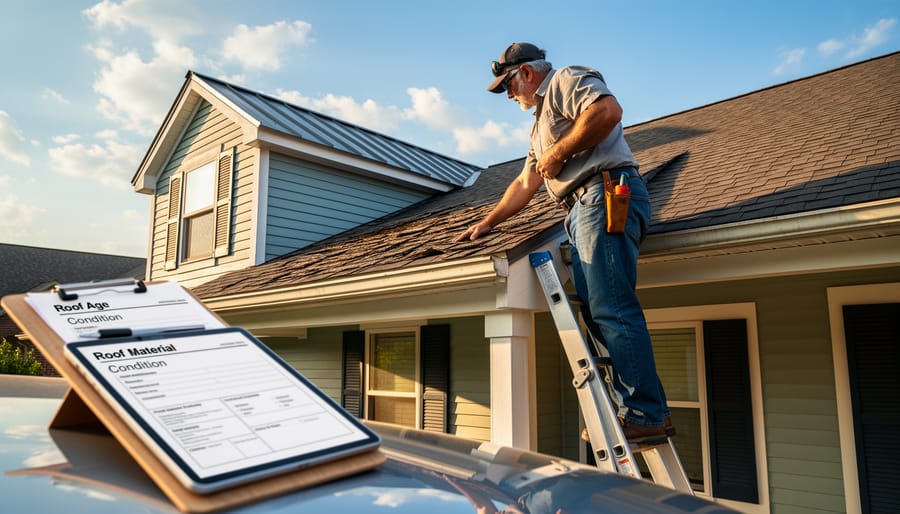
Your roof is one of the first things an insurer will evaluate when considering coverage for an older home. They’ll ask about the age of your current roof and what material it’s made from, both factors directly influence your premiums and sometimes your ability to get coverage at all.
A roof that’s approaching the end of its expected lifespan raises red flags for insurers because it increases the likelihood of claims. Many insurers become hesitant once a roof hits the 20-year mark, and some won’t cover homes with roofs older than 25 years without documented evidence of excellent condition or recent professional assessment.
The roofing material matters just as much as age. Standard asphalt shingles are straightforward to assess and replace, making them the easiest to insure. Slate roofs, while incredibly durable and long-lasting, present challenges because they’re expensive to repair and require specialized tradespeople. Cedar shake roofs sit somewhere in between, they’re attractive and traditional on older homes, but insurers worry about fire risk and maintenance requirements.
If your older home still has its original slate or cedar roof, expect the insurer to ask detailed questions about its condition and recent maintenance. A professional roof inspection report can help demonstrate that the roof, while older, remains in good shape and doesn’t pose an immediate risk.
Required Upgrades and Specialty Endorsements
Insurers often require specific updates before they’ll issue a policy on an older home. Electrical upgrades top the list, if your home still has knob-and-tube or ungrounded wiring, you’ll typically need to replace it entirely before coverage begins. Outdated plumbing, particularly galvanized steel or lead pipes, may also need replacement. If your roof is nearing the end of its lifespan, expect a requirement to replace it within a set timeframe, often 12 to 24 months.
Beyond mandatory upgrades, you may need specialty endorsements to properly protect an older property. Standard policies often cap coverage for heritage materials at modern replacement costs, which won’t cover the expense of matching original craftsmanship. A guaranteed replacement cost endorsement removes dollar limits and ensures you can rebuild authentically, though it comes with higher premiums. If your home features irreplaceable architectural details, ornate plasterwork, custom millwork, period fixtures, consider adding an endorsement that specifically covers these elements at agreed-upon values. Discuss these options with your broker before finalizing your policy.
Dwelling Coverage and Replacement Costs
Coverage A, the dwelling coverage portion of your Canadian home insurance policy, pays to repair or rebuild your house if disaster strikes. For older homes, understanding how this coverage works becomes especially important because of how replacement costs are calculated.
A replacement cost value policy bases the claims payment on what it costs to replace the damaged portion with a brand new equivalent of similar make or model. Here’s where older homes get complicated: the materials and craftsmanship that went into your 1920s home often differ significantly from what’s available or standard today. Original hardwood flooring, plaster walls, custom millwork, or hand-laid masonry can be substantially more expensive to replicate than modern alternatives.
When you file a claim, your insurer will pay to rebuild or repair using comparable quality materials, but “comparable” gets interpreted through the lens of modern construction standards. If your policy has actual replacement cost coverage, you’ll receive funds to restore the home properly. However, you may need to advocate for heritage-appropriate materials if you want to maintain the character of an older property, which is why documentation of original features and any restoration work proves valuable during the claims process.
The Step-by-Step Process to Securing Coverage
Getting insurance for an older home requires a more deliberate approach than a standard application, but the process is manageable when you know what to expect. Here’s how to navigate it successfully.
Start by gathering documentation of your home’s condition and any updates you’ve made. Pull together records of electrical upgrades, roof replacement dates, plumbing work, and structural repairs. If you’ve replaced knob-and-tube wiring or updated your electrical panel, have the permits and inspection certificates ready. Insurers evaluate older homes case-by-case, and solid documentation can shift the conversation from skepticism to approval.
Next, schedule a professional home inspection if you haven’t had one recently. An inspection report gives you, and potential insurers, an objective assessment of your home’s systems and structure. This step is particularly valuable because you’ll know upfront what issues might trigger concerns, allowing you to address them proactively rather than discovering deal-breakers mid-application.
- Contact multiple brokers or insurers who work with older properties, not all companies handle heritage homes equally, and a broker with experience in this niche can save you time and frustration.
- Request quotes from at least three sources, providing the same detailed information to each so you can compare coverage options fairly.
- Ask specifically about what upgrades or endorsements each insurer requires and whether they offer specialty coverage for original features like slate roofs or heritage details.
- Review each quote for Coverage A (dwelling coverage) limits carefully, ensuring the replacement cost value reflects what it would actually cost to rebuild your home with similar materials and craftsmanship.
- Clarify any required upgrades in writing before accepting a policy, know whether the insurer expects immediate changes or will allow a reasonable timeline for improvements.
- Finalize your policy choice based on both coverage adequacy and the insurer’s willingness to work with your home’s unique characteristics, not just on price alone.
Throughout this process, be transparent about your home’s age and condition. Attempting to downplay issues or omit details about outdated systems will backfire during claims or renewal. Insurers appreciate homeowners who demonstrate responsible maintenance and realistic awareness of their property’s needs.
If your first few inquiries result in refusals or unreasonable premiums, don’t assume your home is uninsurable. Some insurers specialize in older properties and heritage homes, understanding that well-maintained older construction can be lower risk than poorly built newer homes. A broker with connections in this market can often find coverage where a direct-to-consumer search falls short.
The timeline for securing coverage typically runs two to four weeks once you’ve assembled your documentation, though complex cases requiring multiple inspections or significant upgrades may take longer. Plan accordingly if you’re purchasing an older home and need coverage in place by a specific closing date.
Cost Considerations and What to Expect
Pricing for older homes varies significantly based on individual property characteristics rather than age alone. While the Canadian average sits around $960 annually, your premium depends on factors like your home’s condition, location, replacement cost, and the specific risks insurers identify during underwriting.
The biggest cost driver is often replacement value. Older homes with original craftsmanship, period materials, or custom architectural details typically cost more to rebuild than modern construction. Insurers calculate Coverage A based on what it would take to reconstruct your home to similar quality, which can push premiums higher than standard policies. Heritage properties with specialized materials face particularly complex valuation.
Your roof plays a major role in pricing. Insurers evaluate both age and material, whether you have asphalt shingles, slate, or cedar, and older roofs or certain materials directly affect your premium. A roof nearing the end of its expected lifespan will cost you more to insure, and some insurers cap coverage age or require replacement before issuing a policy.
Required upgrades also influence cost. If underwriting reveals knob-and-tube wiring or other systems needing replacement, you’ll face those expenses before securing coverage. However, completing upgrades often reduces your premium by eliminating high-risk factors.
Location matters too. Areas with higher claim frequencies, limited fire protection, or distance from emergency services typically see higher premiums. The insurer’s assessment of your specific property’s risks, not just a generic “old home” surcharge, determines your final rate.
Making Your Older Home More Insurable
The most effective way to improve your older home’s insurability is to address the core systems insurers scrutinize most closely. Start with electrical upgrades, replacing knob-and-tube or ungrounded wiring not only opens doors with insurers who would otherwise refuse coverage, but it also eliminates a major safety hazard. Similarly, a newer roof or one in excellent condition can significantly ease the underwriting process and potentially lower your premiums.
Document everything you do. Keep receipts, permits, and inspection reports for all upgrades and maintenance work. When you approach insurers, presenting a file that shows recent electrical work, a roof inspection, or plumbing updates demonstrates you’re a lower-risk client. This preparation matters whether you’re weighing repairs vs selling as-is or planning to keep the property long-term.
For those who’ve recently acquired an older property through inheritance, understanding the financial implications, like the inherited property step-up can help you budget for necessary improvements that make the home insurable.
Beyond major systems, consider smaller updates that reduce risk: installing smoke and carbon monoxide detectors, upgrading water heater strapping, or replacing old plumbing fixtures prone to leaks. These improvements won’t transform an uninsurable home overnight, but they show insurers you’re actively maintaining the property rather than letting it deteriorate.
Common Questions About Insuring Older Homes
Owners of older and heritage properties often face similar challenges when navigating the insurance process. While coverage is generally available, understanding common concerns can help you prepare for discussions with insurers and set realistic expectations.
Can I insure a heritage-designated home?
Yes, heritage-designated homes can be insured, though insurers will underwrite them on a case-by-case basis and may require specialty endorsements to cover unique architectural features or materials. Documentation of any preservation work or recent upgrades helps strengthen your application.
What happens if my older home has knob-and-tube wiring?
Knob-and-tube or ungrounded wiring usually triggers either refusal or mandatory replacement requirements before coverage can be issued. Most insurers consider this outdated wiring a significant fire risk that must be addressed.
Will I need to replace my roof to get coverage?
It depends on the roof’s age and condition, insurers evaluate both the type of roofing material (shingles, slate, cedar) and how old it is. If your roof is nearing the end of its expected lifespan, you may need to replace it or accept limited coverage for roof damage.
How do I find insurers who specialize in older homes?
Working with an independent broker gives you access to multiple insurers, including those experienced with heritage and older properties. Brokers can identify which carriers are comfortable with older homes and help you navigate the case-by-case underwriting process.
If you’re dealing with an older home as part of selling an inherited house securing insurance documentation early in the process can prevent delays and provide buyers with confidence about insurability. Having a clear picture of what upgrades might be needed and what coverage options exist makes the entire transaction smoother for everyone involved.
Insuring an older home is entirely achievable when you approach the process with realistic expectations and solid preparation. Because insurers evaluate heritage and older properties on a case-by-case basis, your success hinges on demonstrating that your home is well-maintained and that any critical systems have been updated to current standards. Gather documentation of recent upgrades, particularly electrical rewiring, roof replacements, or structural work, and present these proactively when requesting quotes.
The case-by-case underwriting approach means your home’s unique features and condition matter more than its age alone. If you’ve tackled major projects like electrical updates or roofing improvements, these investments directly improve your insurability and can help offset premium increases. Even renovations focused on value, such as basement renovation ROI demonstrate your commitment to maintaining and improving the property.
Start the conversation with insurers early, especially if you’re purchasing an older home, and be prepared to obtain specialty endorsements if needed. With the right groundwork and a willingness to address the specific concerns insurers have about older homes, you’ll secure coverage that protects both your investment and your peace of mind.