How AI Virtual Staging Software Transforms Empty Homes Into Buyer Magnets
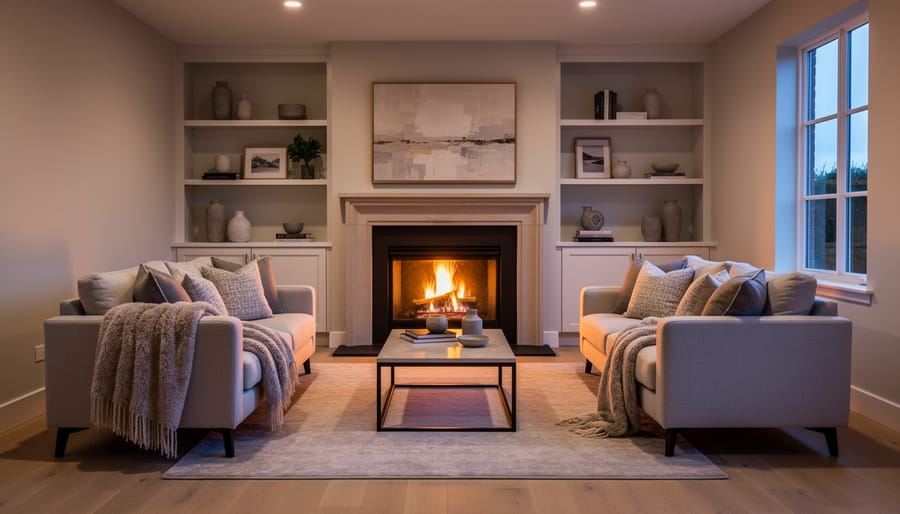
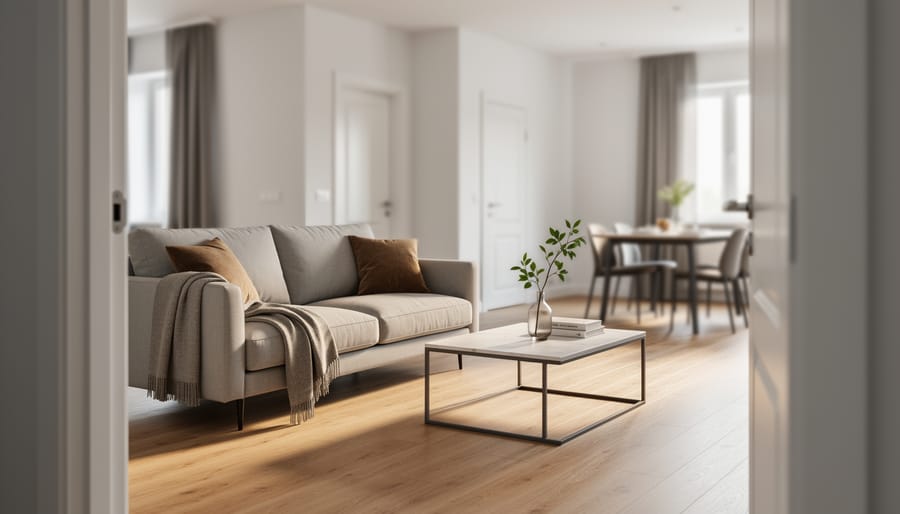
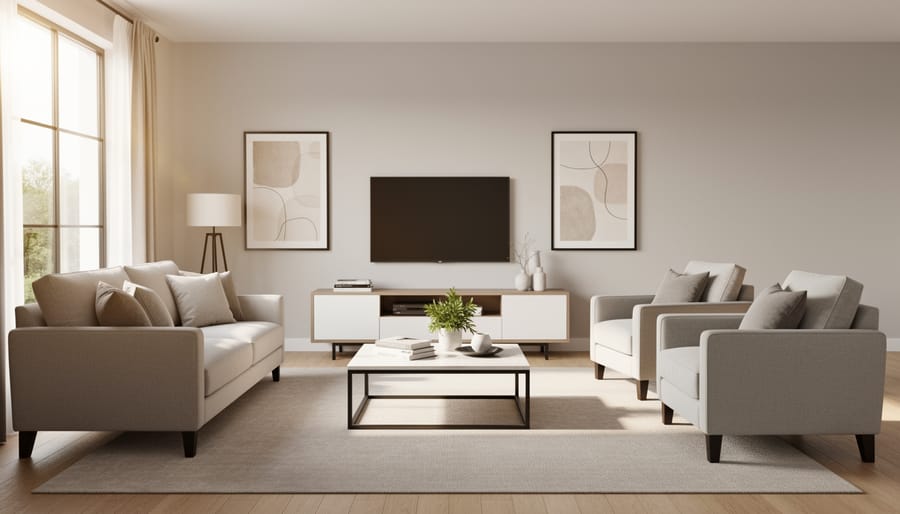
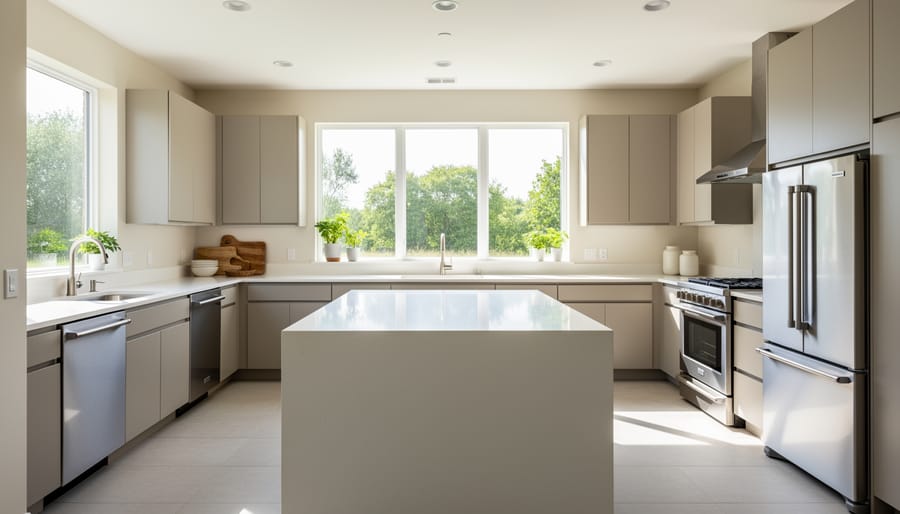
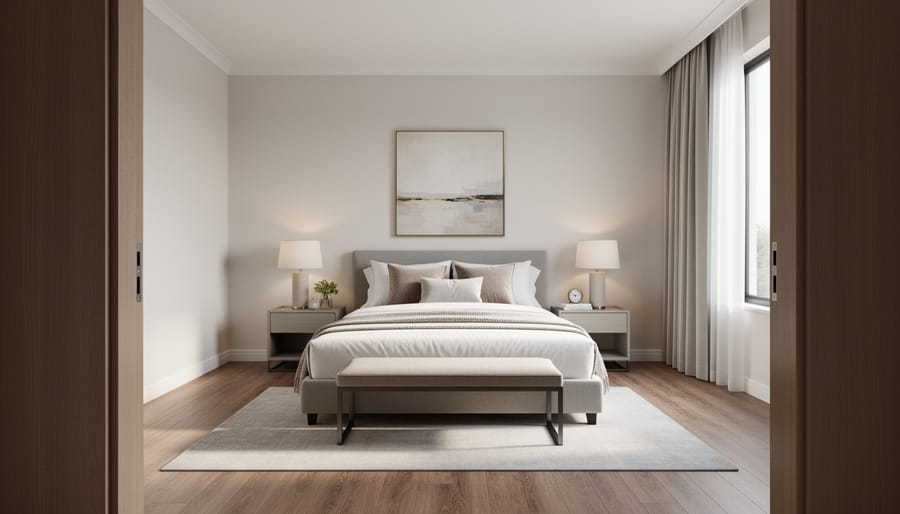
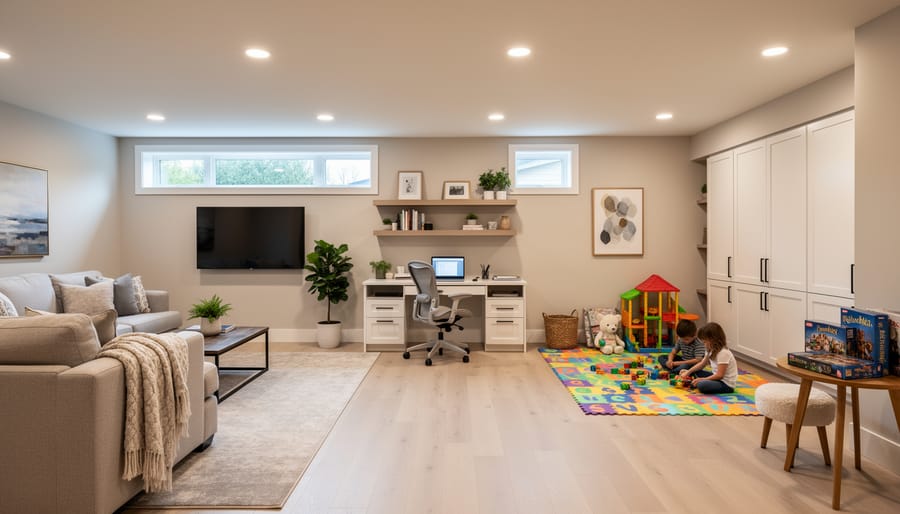
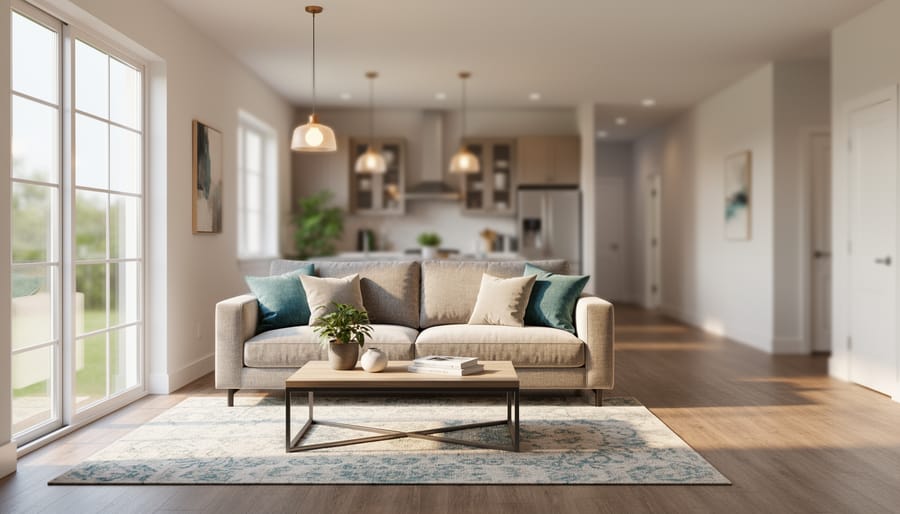
AI virtual staging software transforms empty or outdated rooms into beautifully furnished spaces using artificial intelligence, typically delivering professional results in minutes for $20 to $50 per image compared to traditional staging costs of $2,000 to $10,000 per property. The technology works by analyzing your room photos and digitally placing furniture, decor, and finishes that match the space’s dimensions and lighting, creating photorealistic images you can use in listings, marketing materials, and online tours.
If you’re preparing to sell your home or managing multiple rental properties, this approach solves a practical problem: empty rooms photograph poorly and make it hard for buyers to imagine themselves living there. Traditional physical staging requires renting furniture, coordinating deliveries, and maintaining the setup for weeks or months. AI staging eliminates those logistics entirely while giving you flexibility to show the same space styled multiple ways for different buyer preferences.
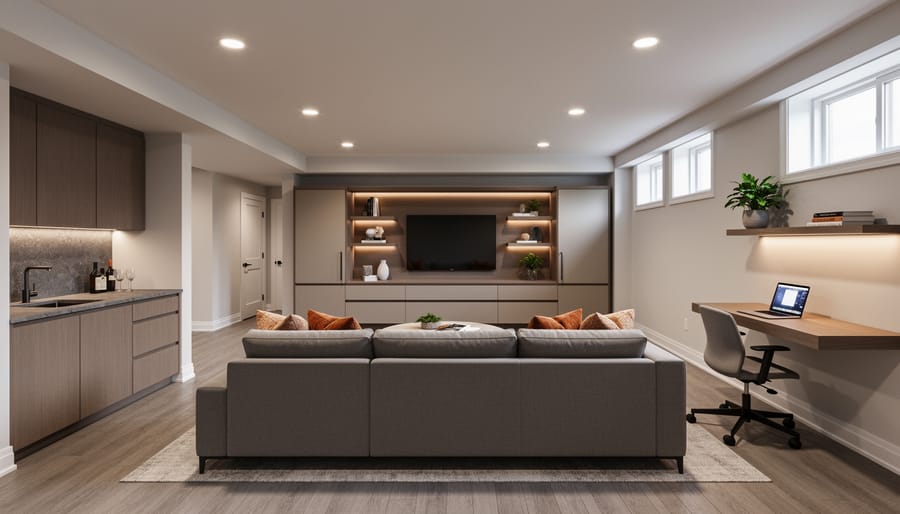
The technology has improved dramatically over the past few years. Early versions produced obviously fake results with distorted perspectives and unrealistic lighting. Current AI staging tools in 2026 generate images that most viewers can’t distinguish from photographs of actual staged rooms. They handle challenging spaces like awkward layouts, rooms with unusual dimensions, and properties that need complete visual overhauls.
Real estate professionals have embraced this solution because the data supports it. Research shows 81% of buyers find it easier to visualize a property as their future home when they see furnished rooms rather than empty spaces, translating to faster sales and often higher offers.
What Is AI Virtual Staging Software and How Does It Work?
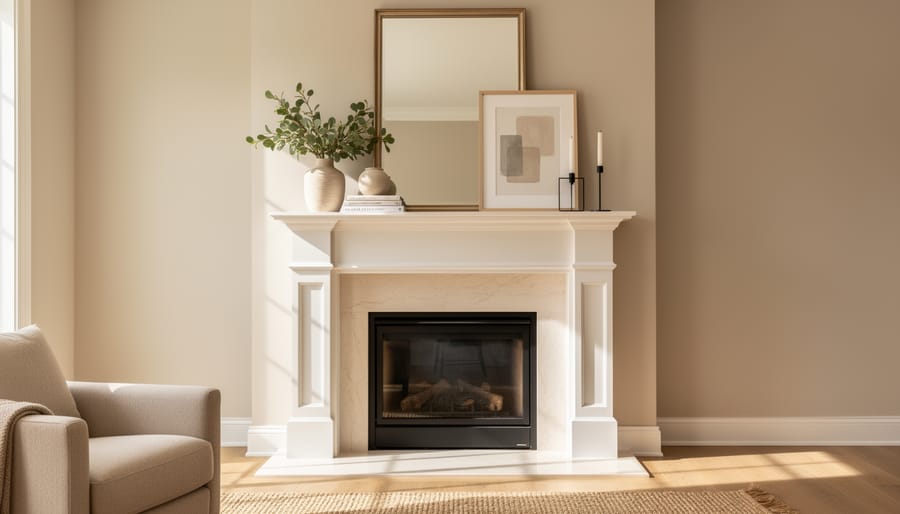
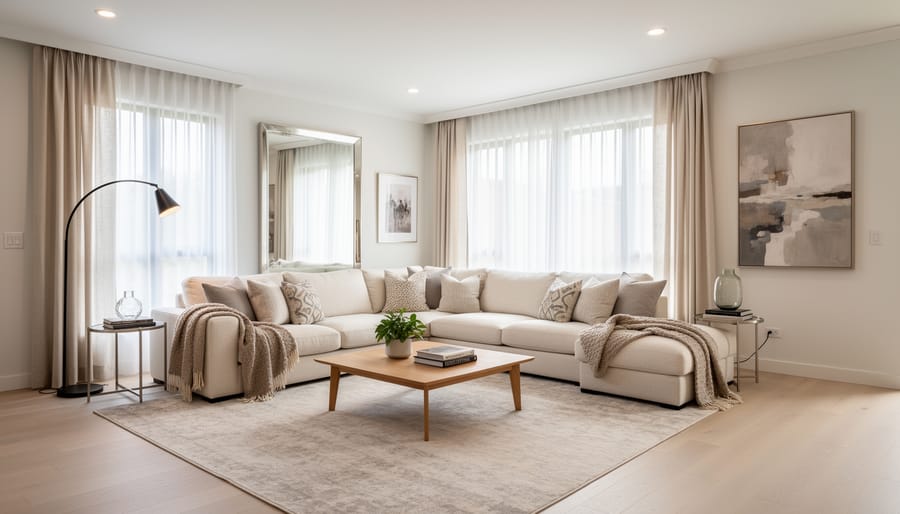
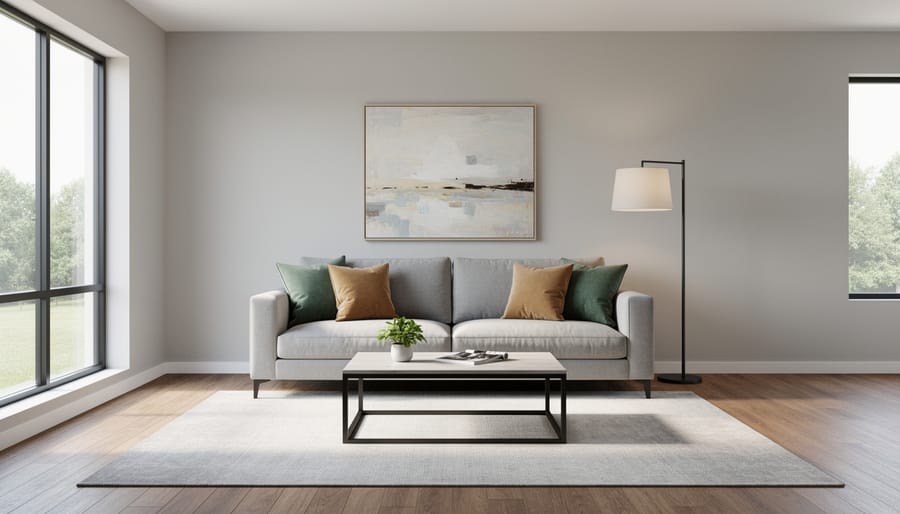
AI virtual staging software uses artificial intelligence to digitally furnish and decorate photos of empty rooms. Instead of physically moving furniture into a property, these tools let you upload images of bare spaces and transform them with realistic-looking furniture, décor, and design elements, all done virtually within minutes to hours.
Here’s how the technology works behind the scenes. Modern AI staging platforms rely on machine learning algorithms trained on millions of interior design images. These algorithms have learned to recognize room dimensions, wall placements, flooring types, and lighting conditions. When you upload a photo, the AI analyzes the space’s geometry and perspective, then places appropriately scaled furniture that matches the room’s angles and lighting. The result is a composite image where digital furniture blends naturally with the original photograph.
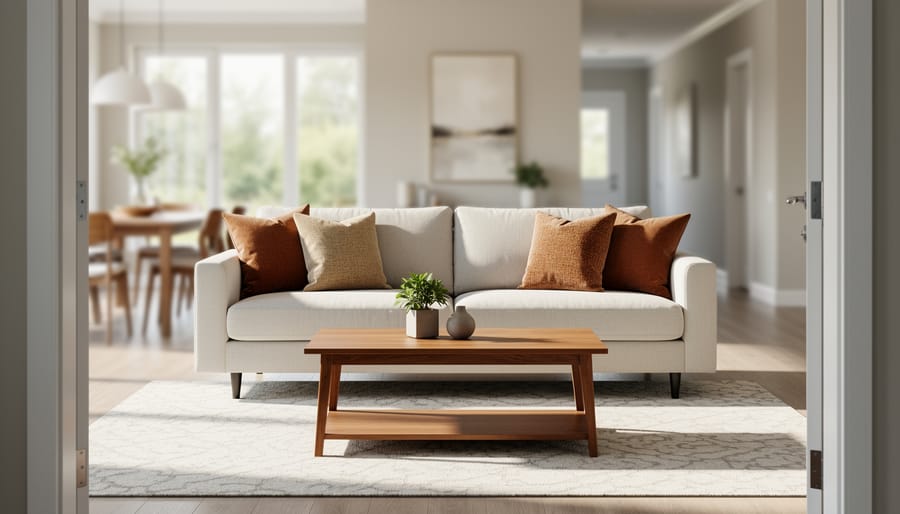
The typical workflow is straightforward. You start by taking well-lit photos of your empty rooms using a smartphone or professional camera. Most platforms work best with images that show the full room from a corner or doorway. You then upload these photos to the staging software and select your preferred design style, perhaps modern minimalist for a downtown condo or cozy farmhouse for a suburban family home. Some platforms let you specify which pieces to add (sofa, dining table, bed), while others automatically populate the entire room based on its type and dimensions.
Once you’ve made your selections, the AI processes the image. Advanced algorithms remove any existing clutter or imperfections, then layer in the chosen furniture with realistic shadows, reflections, and depth perception. The software adjusts colors and lighting to match the original photo’s ambiance. Within minutes to a few hours, depending on the platform and image complexity, you receive your staged photos ready to use in online listings, brochures, or marketing materials.
The technology has improved dramatically in recent years. Early virtual staging often looked obviously fake, but today’s AI-generated images can be nearly indistinguishable from professionally photographed, traditionally staged rooms.
The Real Cost Savings: AI Staging vs. Traditional Staging
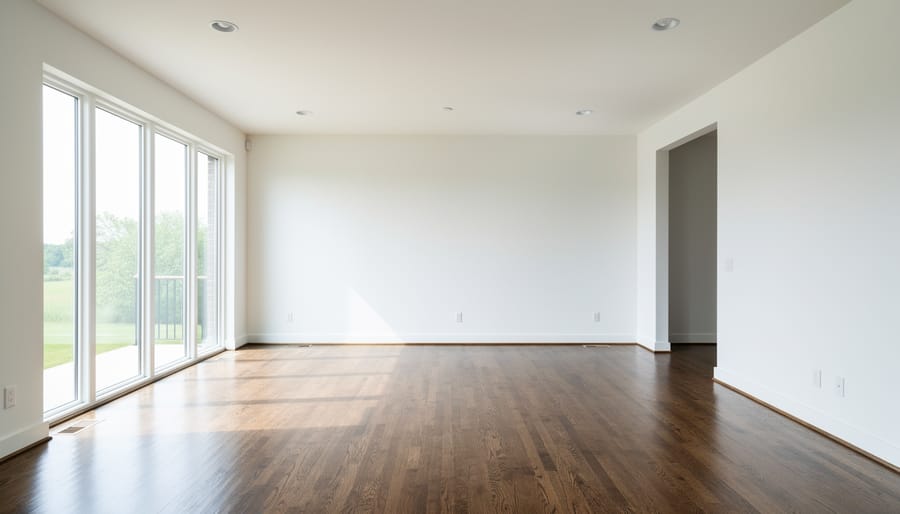
The financial advantages of AI virtual staging become clear when you compare it directly to traditional physical staging. Traditional staging typically costs between $2,000 and $6,000 for an average home, with high-end properties running $10,000 or more. These figures cover furniture rental, professional stager fees, delivery, setup, and monthly rental costs if your home doesn’t sell quickly. In contrast, AI virtual staging runs $25 to $100 per room, delivering professionally staged images within 24 to 48 hours.
| Factor | Traditional Staging | AI Virtual Staging |
|---|---|---|
| Cost per room | $300, $600+ monthly | $25, $100 one-time |
| Setup time | 3-5 days | 24-48 hours |
| Flexibility | Limited; costly to change | Unlimited style variations |
| Typical ROI | 3-10% increase in sale price | 3-8% increase in sale price |
Beyond the obvious price difference, consider the time investment. Physical staging requires coordinating schedules with stagers, waiting for furniture delivery, and potentially keeping items for weeks or months. Each additional month of rental adds hundreds of dollars. AI staging eliminates these ongoing costs entirely.
For real estate investors managing multiple properties, the savings multiply dramatically. Staging five vacant rentals traditionally could cost $10,000 to $15,000, while AI staging the same properties runs $500 to $1,000. That difference goes straight to your bottom line.
The ROI picture is nuanced. Both staging methods typically increase perceived home value and reduce days on market, which translates to better offers. Homes staged with quality photos, whether physical or virtual, sell 73% faster than unstaged properties and often command 5% to 10% higher prices. However, traditional staging’s higher upfront cost means you need a larger absolute price increase to break even.
Smart sellers and agents are using hybrid approaches: AI staging for online listings to capture buyer interest, then showing the actual empty space in person. This strategy delivers the marketing benefits of staged photos while keeping home staging costs manageable. For vacant properties in competitive markets, this combination proves particularly effective at generating showings without the financial burden of full physical staging.
Key Features to Look For in AI Virtual Staging Software
Furniture Style Options and Customization
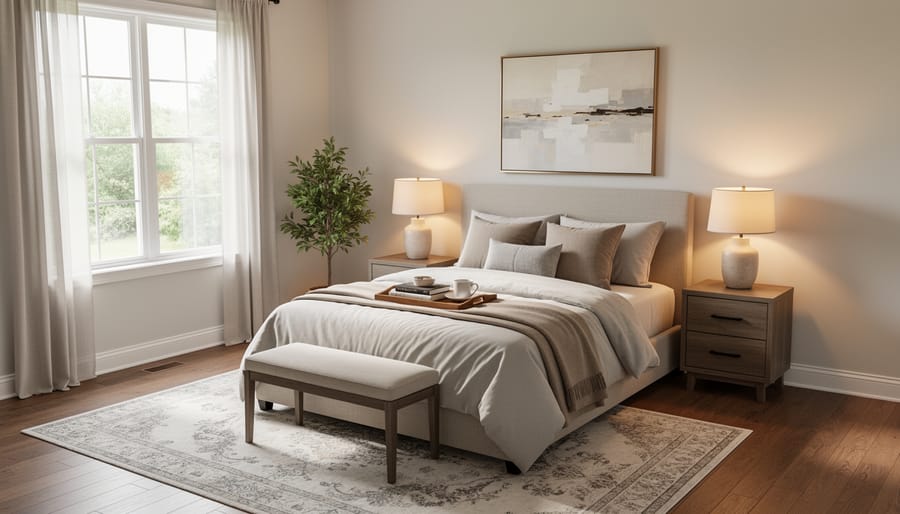
The right furniture style can make or break a virtual staging project. Top-tier AI staging software offers extensive style libraries, modern, traditional, contemporary, farmhouse, industrial, and minimalist, because different properties attract different buyers. A downtown condo needs sleek, space-efficient pieces that appeal to young professionals, while a suburban four-bedroom calls for family-friendly furniture that shows how rooms accommodate real life.
Look for platforms with at least five to seven distinct style categories and multiple furniture options within each. This variety lets you stage the same floor plan differently depending on your target market. Staging a rental property for investors? Go minimal and neutral. Marketing a luxury home? Choose upscale pieces that match the property’s price point.
The best software also allows room-specific customization. You might want mid-century modern in the living room but transitional style in the primary bedroom. Flexibility matters because cookie-cutter staging feels generic and fails to highlight what makes each property special. Pay attention to whether the software lets you swap individual pieces or adjust color schemes, these details help create staging that feels intentional rather than automated.
Image Quality and Realism
Photorealistic rendering separates effective AI staging from images that hurt your listing’s credibility. When staged photos look artificial or obviously edited, buyers immediately question what else you might be hiding about the property. High-quality AI staging should create images where the furniture appears to cast natural shadows, reflects appropriate lighting conditions from the room’s windows, and matches the perspective of the existing space perfectly.
Test image quality by zooming in on details. Blurry furniture edges, unnatural color saturation, or shadows that don’t align with the room’s light sources signal lower-quality software. The best platforms account for room dimensions and lighting angles, ensuring staged furniture looks like it genuinely belongs in the space rather than floating awkwardly or appearing flat against the walls.
Remember that realism serves a legal purpose too. Your staged images must accurately represent the room’s size and layout. Furniture should be appropriately scaled so buyers aren’t surprised when they view the property in person. Misleading staging, even if unintentional, can derail offers and damage your reputation with serious buyers who feel deceived.
Ease of Use and Turnaround Time
A user-friendly interface shouldn’t require a design degree to navigate. The best AI staging platforms let you upload photos, pick a style, and generate results in three to five clicks. You’ll know the software works well if you can stage your first room in under ten minutes without watching tutorials.
Turnaround time matters because listings lose momentum fast. Most quality platforms deliver staged images within 24 to 48 hours, though some offer rush service in as little as a few hours for urgent deadlines. If you’re managing multiple properties or responding to last-minute showing requests, find a platform that processes batches efficiently and allows simultaneous uploads.
Platform accessibility also counts, look for software that works across devices so you can review staged images on your phone during property visits, not just at your desk.
When AI Virtual Staging Makes the Most Sense
AI virtual staging delivers the most value when you’re working with empty spaces that need visual appeal but don’t justify the expense of physical furniture. Vacant homes top the list, whether you’re trying to sell an inherited house that’s been cleared out or you’ve already moved to your next property, AI staging fills those bare rooms for a fraction of traditional staging costs.
New construction projects benefit enormously from virtual staging. Builders can showcase model units before furniture arrives, and developers can market multiple floor plans with different style options without duplicating physical staging across every unit. Fixer-uppers present another ideal scenario, AI staging helps buyers envision the potential of a dated or neglected property without the seller investing thousands in furniture that might get damaged during showings.
High-volume real estate investors find AI staging particularly cost-effective. When you’re managing rental turnovers or flipping multiple properties simultaneously, spending $2,000-5,000 per property on traditional staging becomes prohibitive. Virtual staging at $30-150 per room makes professional presentation scalable across your entire portfolio.
That said, traditional staging still makes sense for certain situations. Luxury properties over $1 million often warrant the investment in physical staging since high-end buyers expect to experience the quality in person. Homes in slower markets where you’ll host multiple showings benefit from the tactile experience of walking through furnished rooms. Properties with unusual layouts or challenging features sometimes need the three-dimensional problem-solving that physical staging provides, virtual furniture can’t always hide awkward angles or demonstrate how a difficult space actually functions.
How AI Staging Impacts Buyer Perception and Sales Speed
Staged homes consistently outperform empty listings in measurable ways. Research shows that virtually staged properties receive significantly more online views and inquiries compared to vacant homes, primarily because buyers struggle to visualize empty spaces. When scrolling through listings, most homebuyers spend just seconds deciding whether to click for more details or keep searching. Staged photos immediately communicate a home’s potential and help buyers imagine themselves living there.
First impressions form within milliseconds, and in real estate, that impression happens online before anyone steps through the door. Vacant rooms photograph poorly, appearing smaller and less inviting than furnished spaces. The staging effect works because buyers emotionally connect with lifestyle imagery rather than empty square footage. Virtual staging delivers this visual appeal at a fraction of traditional staging costs while maintaining the psychological impact that drives engagement.
The data on sales speed tells a compelling story. Staged homes typically sell 73% faster than non-staged properties, and this holds true whether the staging is physical or virtual. The key factor is creating an emotional connection that motivates buyers to schedule showings. Homes with professional staging also tend to sell closer to asking price, as buyers perceive greater value when they can clearly see a room’s functionality and potential.
Transparency matters when using virtual staging. Buyers appreciate seeing before and after photos that demonstrate the actual space alongside the staged version. This honesty builds trust while still showcasing the home’s possibilities. The combination of realistic rendering and clear disclosure creates the ideal balance: generating interest without creating disappointment at showings. Ultimately, staged images serve as a powerful marketing tool that accelerates the journey from listing to sold, benefiting both sellers and serious buyers who can better evaluate whether a property meets their needs.
Practical Tips for Getting the Best Results

Getting professional-looking results from AI virtual staging software requires more preparation than just uploading random photos and hoping for the best. The quality of your input directly affects the quality of your output, and a few strategic decisions can make the difference between staged images that attract buyers and ones that look obviously fake.
- Clean and declutter the space thoroughly before photographing. Remove personal items, clear countertops, and ensure walls are clean. AI software works best with neutral, empty rooms rather than spaces filled with your belongings.
- Take photos during daylight hours with all lights on. Natural light combined with interior lighting creates the most flattering, well-lit images that AI can enhance effectively.
- Shoot from doorway height at approximately chest level, capturing the entire room in one frame. Avoid extreme angles or wide-angle distortion that can make furniture placement look unnatural.
- Choose furniture styles that match your target buyer demographic. A downtown condo needs modern, sleek pieces while a suburban family home might call for traditional, comfortable furniture.
- Stage rooms to show their intended purpose clearly. Don’t leave the AI software guessing whether a space is an office, bedroom, or den, select furnishings that communicate the room’s function immediately.
- Review staged images critically before publishing. Ensure shadows fall naturally, furniture proportions look realistic, and the overall scene feels cohesive rather than randomly assembled.
Even if you’re working to stage on a budget AI software lets you achieve results that would cost thousands with physical staging. The key is presenting these images honestly in your listings, label them as “virtually staged” in the description to maintain transparency with potential buyers.
Think about how professionals stage like a designer and apply those same principles when selecting virtual furniture. Consider the room’s proportions, traffic flow, and focal points. Don’t overstage, a bedroom needs a bed, nightstands, and perhaps a chair, not every piece of furniture the software offers. Less is often more when creating inviting, believable spaces that help buyers envision themselves living there.
AI virtual staging software has fundamentally changed what’s possible for homeowners and real estate professionals working with vacant or poorly furnished properties. It delivers professional-quality staged images at a fraction of traditional staging costs, often $29-99 instead of $2,000-5,000, while maintaining the visual impact that helps properties stand out in crowded online listings.
The technology addresses a real problem: empty rooms photograph poorly and struggle to capture buyer imagination. By digitally furnishing spaces with realistic furniture and decor, you give potential buyers the visual context they need to see themselves living there. This translates to measurable results, faster showings, more engaged buyers, and often quicker sales.
What makes AI staging particularly valuable in 2026 is its accessibility. You don’t need technical expertise or a massive budget. Most platforms work through simple uploads, deliver results within hours, and let you try different styles until you find what resonates with your target market.
For investors managing multiple properties or homeowners preparing to sell, this technology removes barriers that once made professional presentation cost-prohibitive. It’s not about replacing the personal touch of a well-staged home, it’s about giving more people access to tools that help their properties shine.
At Your Home Tour, we believe every house deserves the chance to become someone’s dream home. AI virtual staging is one more way technology empowers you to present your property at its absolute best, reaching more buyers and making stronger first impressions from that crucial first click.