
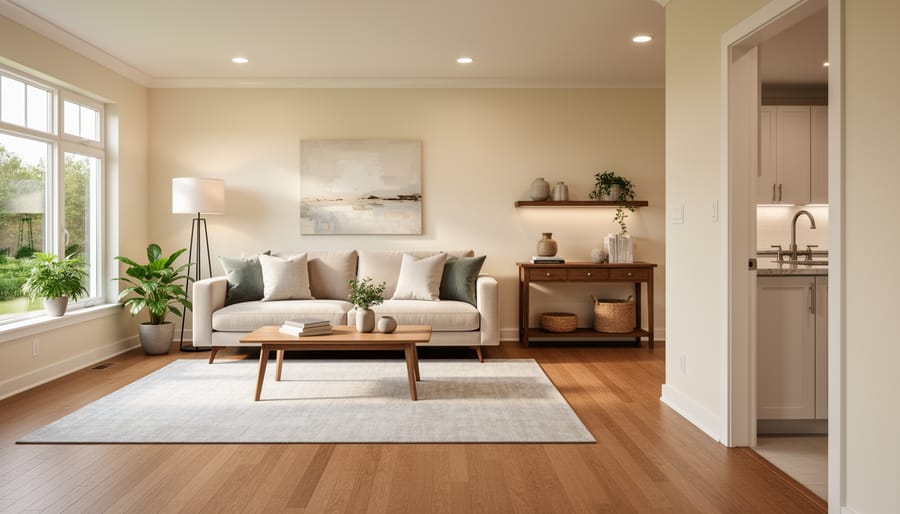
How Much Do Budget Friendly Home Upgrades Cost? 2026 Prices for Home Staging
Most budget friendly home upgrades before a sale cost somewhere between a few dozen dollars and a few thousand, and the right number depends on what you’re fixing, not how much you’re willing to spend. A can of paint and new cabinet hardware sit at one end. Refinished floors or a refreshed kitchen backsplash sit at the other. Plenty of sellers get strong results staying near the low end.
Four things move your total more than anything else: the size of the space, the condition it’s starting from, whether you do the work yourself or hire a pro, and the quality of the materials you pick. A small bathroom with good bones is a very different project than a dated kitchen that needs new surfaces.
The goal isn’t to spend as little as possible. It’s to spend where buyers notice, like fresh paint, bright lighting, and clean, uncluttered rooms, and skip what they won’t. That’s the same thinking behind smart staging costs: a modest, well-aimed budget beats a big, scattered one.
Below, you’ll find typical cost ranges by project type, where your money actually goes, and how DIY and hiring out compare. If you’d like personalized advice on your own home, Your Home Tour offers a free consultation to help you prioritize.
What Budget-Friendly Home Upgrades Cost by Project Type
Under $100: Quick Wins That Change the Feel of a Room
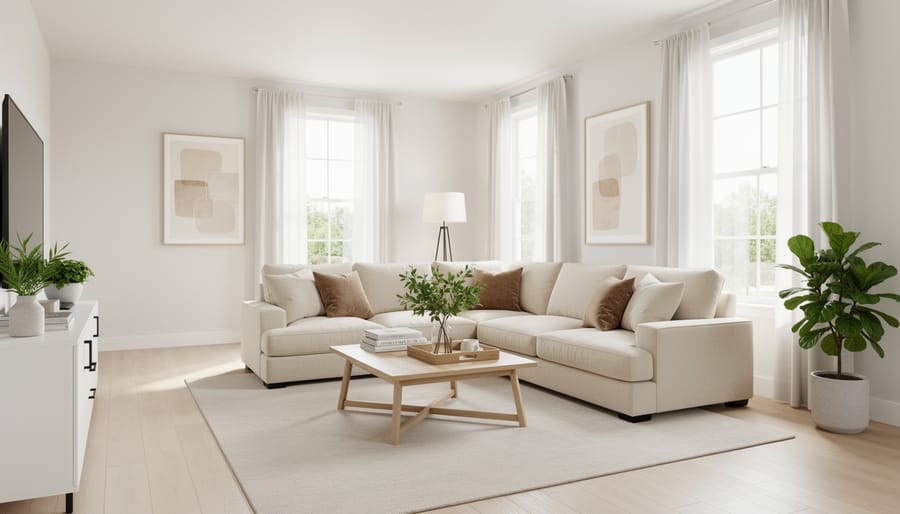
You don’t need a big budget to make a room feel cared for. A handful of small purchases, most of them well under $100, can shift how buyers read your home the moment they walk in.
Start with the basics. A good set of deep cleaning supplies, usually $20 to $40, does more than almost anything else. Fresh caulk around tubs and sinks runs about $5 to $10 a tube and instantly makes a bathroom look newly maintained. New cabinet pulls typically cost a few dollars each, and updated switch plates are often under $3 apiece, so you can modernize a whole kitchen for the price of a nice dinner out. A new doormat ($15 to $30) and a couple of potted plants ($10 to $25 each) welcome people before they even step inside.
Here’s my personalized tip: tackle the front entry first. Buyers form an opinion in those first few seconds, so a clean doorway, a fresh mat, and one healthy plant set the tone for everything that follows. Then move on to the kitchen, where those cabinet pulls pay off.
$100 to $1,500: Bigger Updates With Real Staging Payoff
Once you move past the quick wins, a $100 to $1,500 budget opens the door to updates that buyers genuinely notice in photos and in person. Painting is usually the best value here. Fresh, neutral paint in the living room, kitchen, and primary bedroom can run a few hundred dollars if you do it yourself, and it makes rooms look brighter, cleaner, and larger.
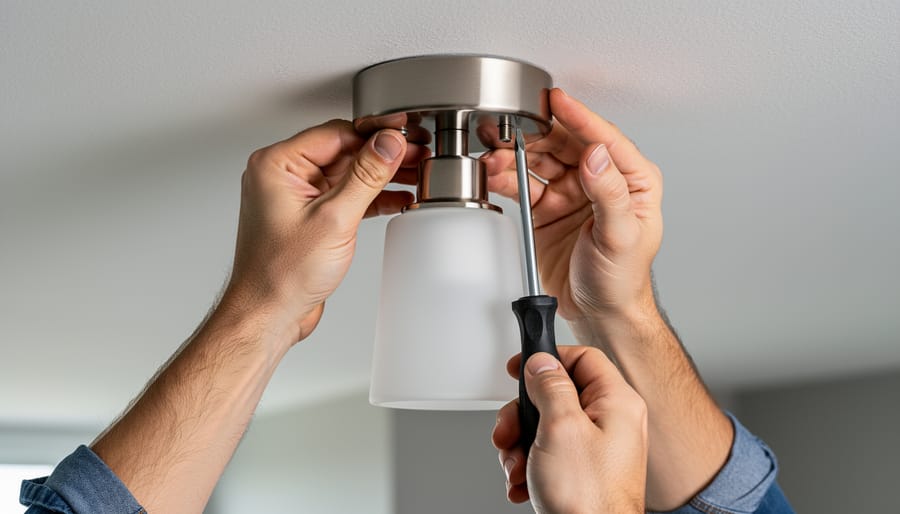
Swapping dated light fixtures is another strong move. A new entry pendant or a modern fixture over the dining table often costs $50 to $200 each, and it instantly updates the feel of a space. If the wiring is more than a simple swap, bring in an electrician.
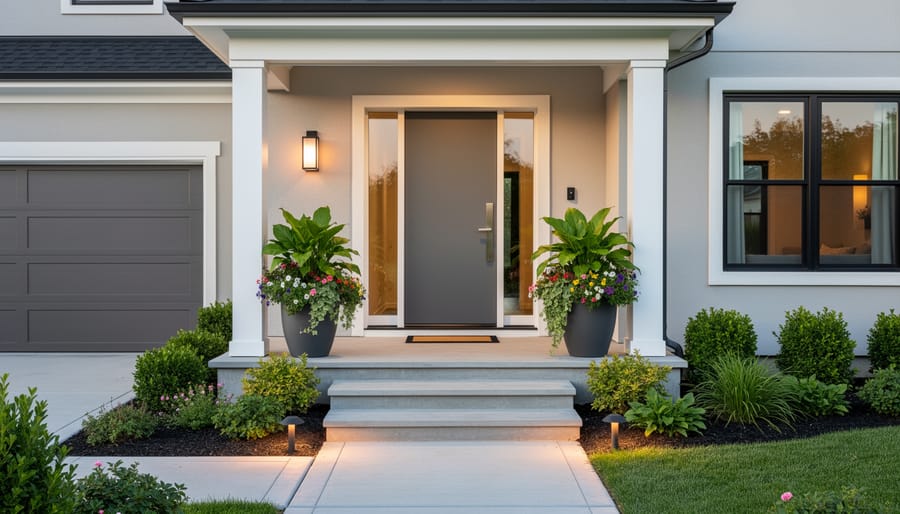
Outside, a refreshed front door in a clean, welcoming color, plus new house numbers and a tidy mulched bed, can come in well under $500. Trimming overgrown shrubs and edging the lawn adds to the effect, and pairing these with proven curb appeal strategies helps the whole front of the home look cared for.
In my experience, buyers tend to notice the entryway, kitchen, and primary bedroom first, so start your budget there. Prices vary by region and home size, but these projects consistently give you the most staging payoff per dollar.
Where Your Money Goes: A Typical Upgrade Cost Breakdown
When you picture a pre-sale refresh budget, it helps to see where the dollars actually land. Here is a hypothetical example, clearly labeled as an illustration, for a modest $1,200 refresh of a typical three-bedroom home. Your numbers will shift with your home and region, but the shape of the spending is a useful guide. If you want to see what a similar refresh can look like, browse these before and after transformations.
Here is how a budget like this usually splits:
- Materials (about 45%): Paint, light fixtures, cabinet pulls, mulch, and fresh plants make up the biggest share.
- Tools and supplies (about 15%): Brushes, rollers, drop cloths, caulk, and cleaning products you may need to buy or borrow.
- Labor (about 20%): This applies only if you hire help for a task like fixture installation; DIYers can redirect this money elsewhere.
- Disposal and cleanup (about 5%): Haul-away fees, trash bags, and dump runs for old fixtures and yard debris.
- Contingency cushion (about 15%): A buffer for surprises like a second coat of paint or a hidden repair.
Permits rarely come into play for cosmetic upgrades, but they can for electrical or structural work, so check with your local office before swapping anything beyond a simple fixture.
The real secret is not the percentages, it is where you point them. Put your money into the spaces buyers see first and judge fastest: the front entry, the living room, the kitchen, and the primary bathroom. A fresh coat of paint in the entryway and living area usually does more for a first impression than a pricey upgrade in a guest closet.
My personal tip: before you buy anything, walk through your home as if you were a buyer and note the three spots that make you pause. Spend your first dollars there. If a room already looks clean and bright, leave it alone and save that money for the places that need it most.
What Changes the Price: Factors That Raise or Lower Your Upgrade Budget
Not every home costs the same to refresh, even when the to-do list looks identical. A few variables decide whether you land at the low end or the high end of a typical range, and the good news is that you can control several of them.
Here are the main price factors, ranked from most to least impactful, along with how to keep each one in check:
- Home size and square footage. More walls to paint and more floor to clean means more materials and more hours. Focus your budget on the rooms buyers see first, like the entry, living room, kitchen, and primary bedroom, instead of treating every room equally.
- Current condition. Scuffed walls need extra prep, and worn finishes may need repair before they can be refreshed. Do a slow walkthrough with a notepad and fix the small stuff first, since minor repairs are cheaper than letting them pile up.
- Local labor and material costs. Prices shift by region, and the ENR cost indexes track how construction labor and material costs move over time. Get two or three local quotes so you know what’s normal where you live.
- Quality of materials. A mid-grade paint or fixture often looks nearly identical to a premium one once a home is staged and photographed. Choose solid, neutral, mid-range options and skip luxury lines.
- Timeline pressure. Rush jobs can mean overtime rates, expedited shipping, or settling for whatever is in stock. Start early, even by a couple of weeks, and you’ll have room to compare prices.
- Number of projects bundled together. Grouping jobs can reduce per-project labor charges and save you repeat trips for supplies. Batch similar tasks, like painting several rooms in one go, whenever you can.
Beyond those levers, a few habits stretch your dollars further. Buying in bulk helps with items you’ll use a lot of, such as paint, caulk, or lightbulbs, and many stores discount larger quantities. Seasonal sales are another easy win: paint, outdoor supplies, and hardware often go on promotion around holiday weekends and at the change of seasons.
Don’t overlook what you already own, either. Reusing existing items can trim a budget quickly. A coat of spray paint can revive old cabinet hardware, and furniture from one room may look great in another. Repurposing is one of the friendliest ways to keep spending low while still giving your home that polished, move-in ready feel.
DIY vs. Hiring a Pro: Which Saves More for Home Staging Upgrades?
Deciding between DIY and a pro usually comes down to one question: where does your labor save the most money without putting the sale at risk? For most sellers, the answer splits cleanly down the middle.
DIY pays off on the cosmetic jobs that cost more in labor than in materials. Painting is the biggest one. A gallon of quality paint is modest, but hiring painters can multiply the price several times over. Swapping cabinet pulls, replacing switch plates, mulching beds, trimming shrubs, and decluttering all fall into the same category. They take patience more than special skill, and they’re exactly the changes buyers notice first.
A pro earns their fee when the work involves electricity, plumbing, or anything tied to safety or building code. Replacing a light fixture sounds simple, but faulty wiring can cause problems during inspection and may even scare off a buyer. The same goes for swapping faucets with tricky connections or touching anything structural. A small repair done wrong can cost far more to fix than it would have cost to hire someone in the first place.
Pros
- DIY keeps your costs close to the price of materials alone.
- You control the schedule and can work around your own calendar.
- Professionals deliver a polished, consistent finish on visible surfaces.
- Pros handle licensed or code-related work safely and with accountability.
Cons
- DIY projects often take longer than expected, especially for first-timers.
- An uneven DIY paint job or rushed repair can show up in listing photos.
- Hiring out adds labor costs that can quickly eat into a small budget.
- Mistakes on electrical or plumbing jobs can create real safety and inspection risks.
So how do you choose? Start by being honest about three things: your skill, your time, and your budget. If you’ve painted a room before and have a free weekend, DIY is likely your best bet. If your timeline is tight or the job makes you nervous, paying a pro for just that one task is often money well spent. You don’t have to pick one approach for everything. A mixed plan, where you handle the easy cosmetic work and hire out the technical pieces, tends to stretch a budget the furthest.
Keep in mind that a clean, finished look matters when you’re aiming for faster home sales so it’s worth getting the visible work right, whoever does it.
Still unsure where to draw the line for your home? Your Home Tour offers free consultations to help sellers sort out which upgrades to tackle themselves and which to hand off, so you can spend wisely and feel confident about it.
Smart Ways to Stretch Your Upgrade Dollars Before You List
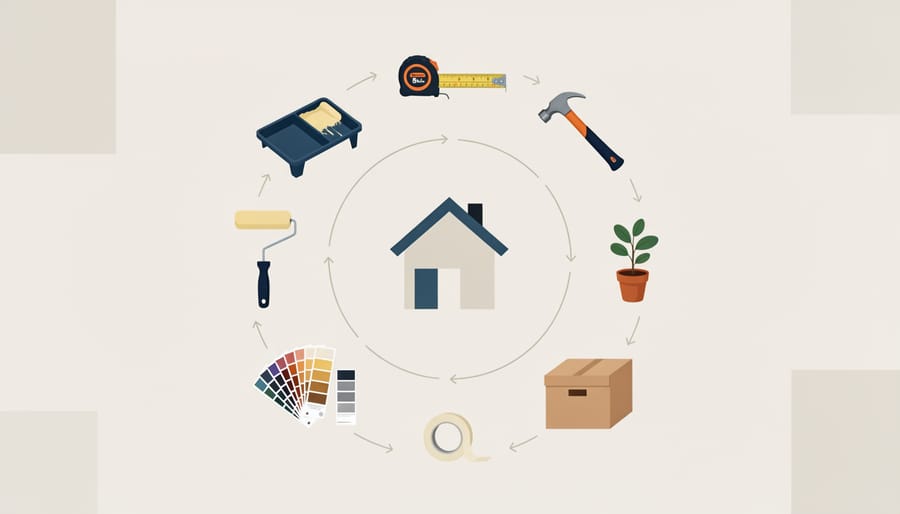
Start with the cheapest work that makes the biggest difference: a deep clean and a ruthless declutter. A spotless, open-feeling home photographs better and shows better, and it costs little more than your time and a few supplies. Clear counters, thin out closets, and pack away personal items before you spend a dollar on anything else.
Next, put your money where buyers look first. Kitchens, bathrooms, and curb appeal carry the most weight, so a fresh coat of paint, new cabinet hardware, a clean grout line, and a trimmed, mulched front yard usually beat a big project in a rarely used room. Choose neutral finishes like soft whites, warm grays, and light beiges. They let buyers picture their own furniture and keep you from sinking money into bold choices that only suit your taste.
It also helps to know what to skip. Major renovations, pricey custom features, and luxury upgrades rarely return what you put in before a sale. If you’re short on time or funds, say you need to sell during divorce or on a tight timeline, focus on the quick, visible wins first and let everything else go.
Every dollar you spend should serve one goal: Budget-Friendly Home Staging that makes your home feel clean, bright, and ready to move into. Keep that in mind and your budget will go a lot further.
Budget-Friendly Home Upgrade Questions, Answered
How much should I spend on upgrades before selling?
A good starting point is to put your money into the spots buyers notice first, like the entry, kitchen, and bathrooms, and stop when the home looks clean, bright, and cared for. Many sellers find that a modest budget of a few hundred to a couple thousand dollars is plenty, though it depends on your home and market.
Which upgrade gives the best return for the cost?
Fresh paint in a neutral shade and a deep clean usually deliver the most visual impact for the least money. Curb appeal touches, like a tidy yard and a refreshed front door, are close behind because they shape that all-important first impression.
Is painting worth it before listing?
In most cases, yes. Paint makes rooms feel brighter, larger, and move-in ready, and it’s one of the easiest projects to handle yourself if you want to save on labor.
Do I need to upgrade if I’m selling as-is or for cash?
Not necessarily. If you’re selling as-is, a light clean and decluttering can still help your home show better, but major upgrades often aren’t needed.
Knowing when to call a pro is just as important as knowing what to upgrade. If a project involves electrical wiring, plumbing, structural concerns, or anything tied to safety or local code, bring in a licensed professional rather than risking a costly mistake. For everything else, like painting, hardware swaps, and yard cleanup, DIY is usually a smart way to stretch your budget.
Still not sure where to begin? Your Home Tour offers a free consultation, and we’re happy to look at your situation and help you decide which upgrades are worth your time and money.
Small, well-chosen upgrades really are the heart of Budget-Friendly Home Staging. A deep clean, fresh paint, updated hardware, and a tidy yard can change how buyers feel the moment they walk in, and none of it requires a major renovation or a big check.
Keep in mind that your final cost will depend on a few things: the type of project, the size and condition of your home, and whether you tackle the work yourself or bring in a pro. Start with the spaces buyers notice first, stick to neutral finishes, and spend where it shows.
You don’t have to figure it all out alone. If you’d like a clear plan that fits your home and your budget, Your Home Tour offers a free consultation with personalized advice and no pressure. Reach out whenever you’re ready, and let’s help your home look its very best.
Leave a Reply